Main menu
You are here
Create View
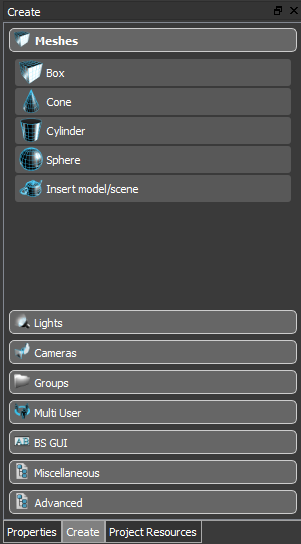
With the Create Dock you can add nodes to your scene. The Create Dock is devided into summary sections.
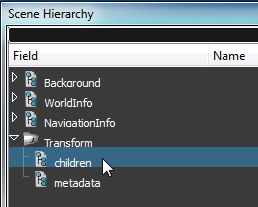
To add a node to your scene first select the location in the Scene Hierarchy
View where the new node should be created.
If the new node should be created as a
root element click on a empty space in your 3D-Scene or choose Deselect
All from the Edit Menu.
If a node could not be created at the selected position the following dialog will appear.
Create in Root will create the new node as a root element of the scene.
Create in Parent will create the new node in the parent of the selected element.
Replace Node will replace the selected element through the new node.
Cancel will stop the operation. The new node will not be created.

In the meshes section you can add primitives like boxes and cones to your scene.
To add a primitive like a box to your scene click on the corresponding button. The box will be created in the middle of the 3D viewport.

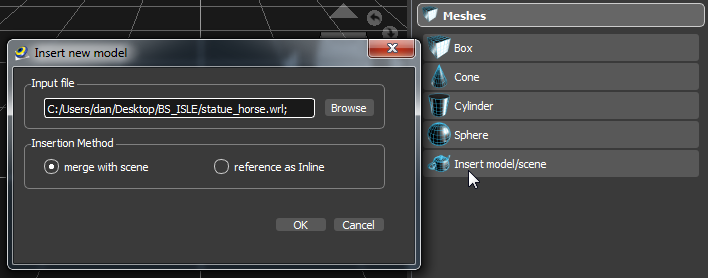
For adding higher detailed and more complex models to your scene choose Insert model/scene.
In the appearing dialog click on the Browse button and select your model. If you choose merge with scene the model will be copied into your working file. if you choose reference as Inline the model will be stored in an external file.
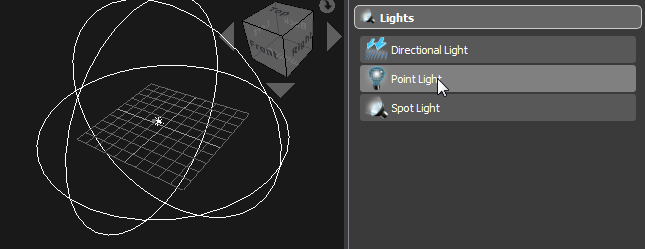
In the lights section you can add directional lights, point lights and spot lights to your scene.
In the cameras section you can add cameras and viewpoints to your scene.

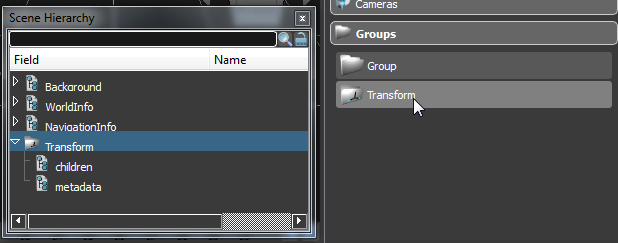
In the groups section you can add transform nodes and group nodes to your scene.
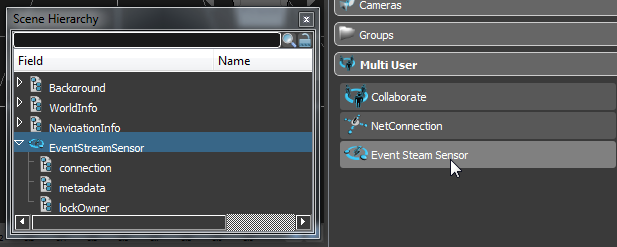
In the multi user section you can add Collaborate nodes, NetConnection nodes and Event Stream Sensors to your scene.
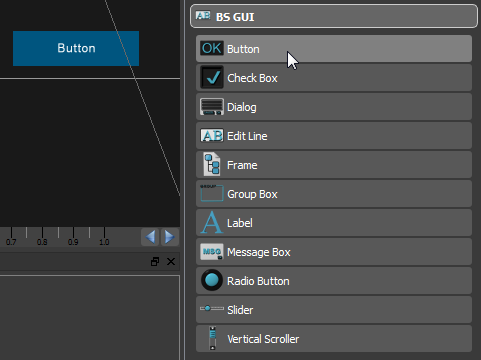
In the BS GUI section you can add several 2D BS GUI nodes for creating user interfaces.
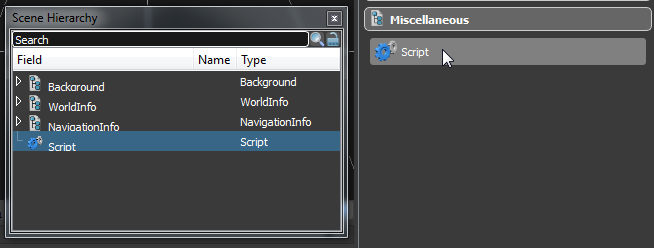
In the BS GUI section you can add Scripts to your scene or create PROTOs to you scene.
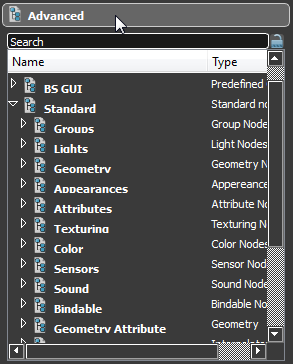
The Advanced section represents an overview of all avialbale node types which can be instanced into your scene. They are structured in three main categories composed of
- Protos - Protoytypes created by user
- BS GUI - Predifined nodes for creating 2D user interfaces
- Standard - Build-in standard nodes
The categorie Standard has many sub categories to facilitate the search of nodes by main characteristics, like all lighty nodes are in the sub categorie Light.
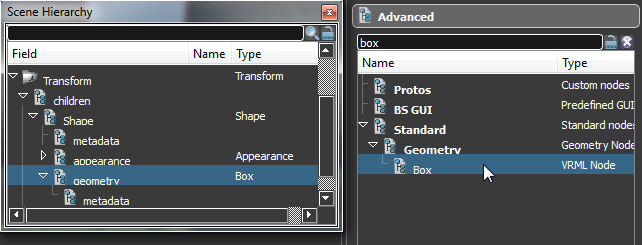
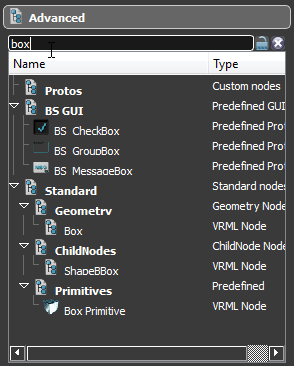
On top of the Advanced section you can find a search input box to search for node types. This helps you to search specific node types when you not know where to find them. The search bar searches for entered search words in the list. The search starts with the first entered character and will be refined with further typed characters. Per default the search is case insenstive, unless the lock icon on the right side is closed, then the search is case sensitive. To cancel a search you can delete the entered search word or you can press the cacell button on the most right side.
To instance a node in your scene you have to select in the Scene Hierarchy View the location.
After selecting the location you have to double click the requiered node in the Advanced section and the node will be inserted at the selected location in the scene. Some fields in the Scene Hierarchy View have node list filter available.
That means that only these types of nodes are available in the Advanced section which match the condition of the selected field.
For example: If you select the geometry field of a Shape node you can only apply nodes of the categorie Geometry on it.
