Main menu
You are here
Project Resources View
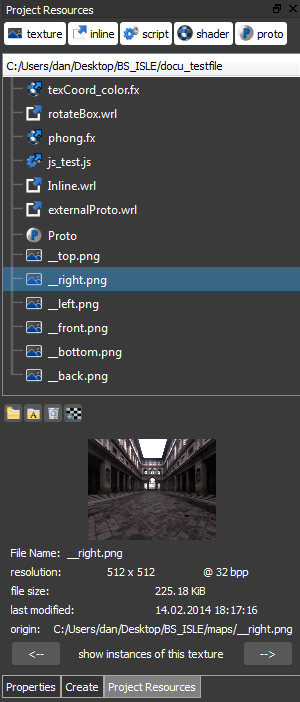
With the Project Resource View you can manage all your resources like textures, inlines, scripts and shaders.
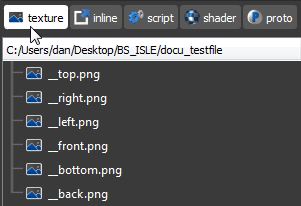
On the Top of the Project
Resource View you can filter out the different
resource types with the filter buttons. If only the texture button is
active only textures will be listet in the Project Resource View.
Active buttons are highlighted. Note that all filter buttons can be deactivated.
In this case your resources list will be empty.
The different resource types are indicated through different icons listed below:
 Texture
 Inline
 Intern Script
 Extern Script
 Intern Shader
 Extern Shader
 Proto
Proto Extern Proto
 Proto with Interface Issues
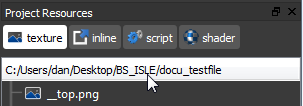
In the second line on the top of the Project Resource View the project storage location is shown. All resources of your project are stored at this location.
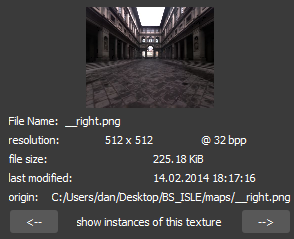
If you select a resource in the list resource information will be shown on the bottom of the Project
Resources View.
The information depends on the type of the selected resource.
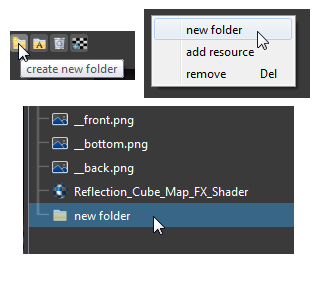
To create a new folder within your project storage location click on the Create new folder button. Alternatively you can right click on the Project Resources View and select new folder in the context menu.
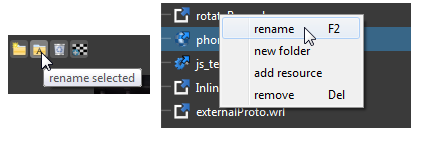
To rename a resource select the resource in the Project
Resources View and click on the rename selected button. Alternatively you can right click the resource you want to rename and select rename in the context menu.
Now you can edit the resources name.
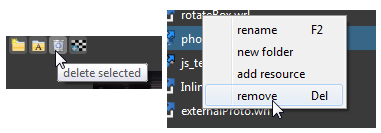
To delete a resource form the Project Resources View click on the delete selected button. Alternatively you can right click the resource you want to delete and select remove in the context menu.
To edit a Proto right click on the resource item and select edit Proto in the context menu. It will open a new tab to edit the Proto.

To add a resource to the Project Resources View click on the add resource button. Alternatively you can right click on the Project Resources View and select add resource in the context menu.

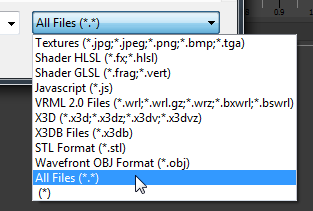
In the appearing dialog you can choose the resources file format and add the resource to the Project Resources View.
To assign a texture to a 3D object drag a texture resource from the Project Resources View and drop it on a object in the 3D Scene.
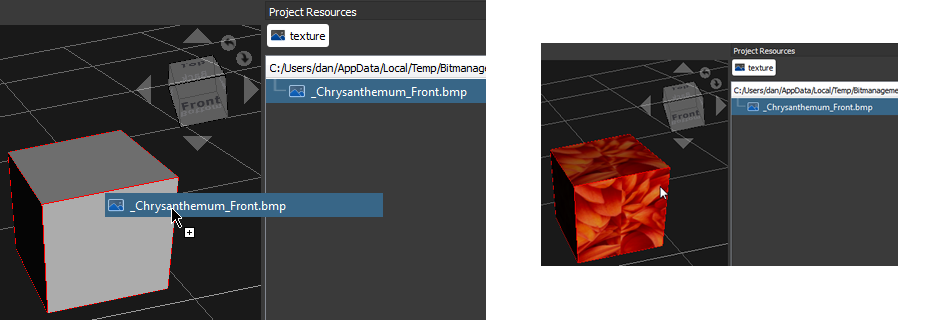
Another way to set the texture of a 3D Object is to select the 3D Object and click the Create Texture Button in the Object Property View. Click here for more informations
To modify the appeareance of an object click on the Appearance entry in the Project Resources View.
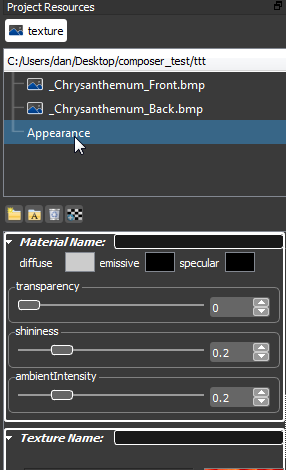
In the appearing rollouts you can modify material, texture und the shader of the selected object.
More informations about modifying materialsMore informations about modifying textures
More informations about modifying shaders
