Main menu
You are here
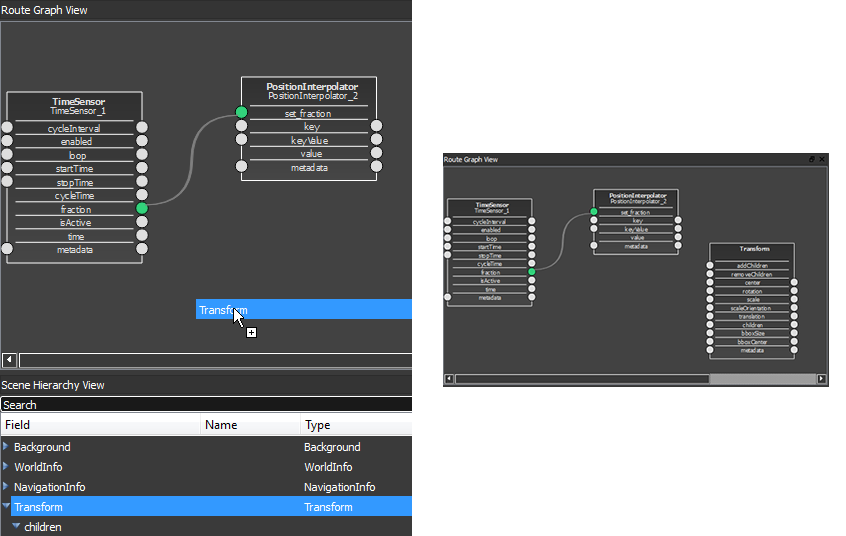
Route Graph View
The Route Graph View is an overview of all connections in the scene. You can edit, create and remove connections. A connection(route) is a link between a field of one object that sends its value to a field of another object.
You can navigate in the Route Graph Scene via holding down the middle mouse button. The cursor will change into a closed hand.
To zoom in or out please use your mouse wheel. The scene will zoom in/out where the mouse pointer is.
In the top of the Route Graph you can find a toolbar. On the left side is a button  to fit the view to all item in the current Route Graph scene. With the button on the right side
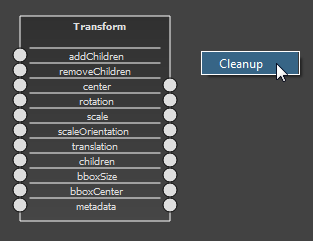
  you can clean up the scene to remove unconnected node items. This is identical to the context menu entry Cleanup.
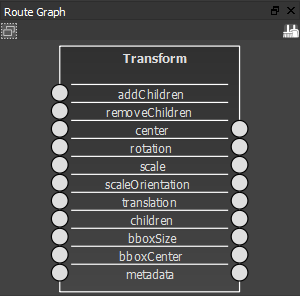
In the first line the type of node is displayed. The second line shows the name of the node and the following lines represents the node fields.
A field can hold anchor points for IN- and OUT-Connections. Some fields
don´t accept IN and OUT-Connections.
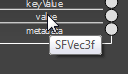
You can get field informations by holding the mouse over a field. A Tool Tip with the fields dataType will appear.
To Add a new node item to the Route Graph View drag and drop the node from the Scene Hierachy View to the Route Graph View.
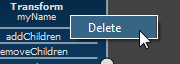
To delete a Node Item right click the Node Item with the mouse. A context menu will appear.
Delete will remove the Node Item only from the Route Graph View.
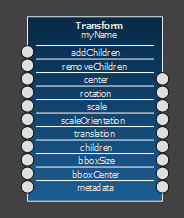
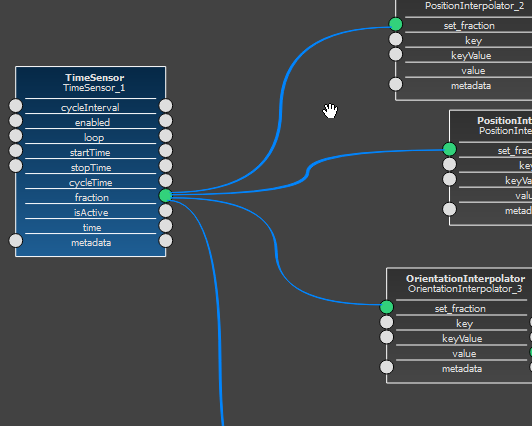
To select a Node Item just left click the node item with the mouse.
The Node Item will change his color to blue. All connections to the Node Item will also change their color to blue.
The Node Item will also be
selected in the Scene Hierarchy View and its propertys will be displayed
in the Property View. You can also select the Node Item in the Scene Hierarchy View and it will be automatically selected in the Route Graph View.
To arrange node items you can drag it with the right clicked mouse button over the Route Graph View. If you save your project to a BS Content Studio Project File (*.bsprj) the arrangement will be stored. Otherwise it will be lost.
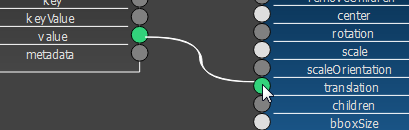
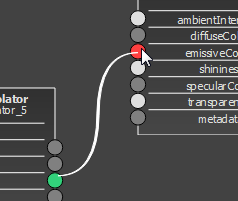
Connections can only be created between two fields of the same dataType
and an IN-AnchorPoint can only be connected with an OUT-AnchorPoint.
To
create a new connection drag the mouse from an anchorPoint and drop it
to an suitable anchorPoint. While dragging all suitable anchorPoints will
change
their colors to brightgray. If you are trying to connect your field with
a not matching field the anchorPoint will change his color to red.
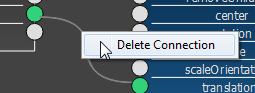
To remove a connection right click it with the mouse and select Delete Connection from the appearing context menu.
Several Node Items are able to create new fields. You can add a new field to a Node Item if the Node Item is one of the following type:
- EventStreamSensor
- PackagedShaded
- ComposedShaded
- Script
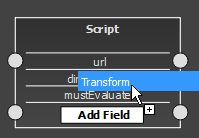
You can drag and drop an existing field to one of the anchorPoints
in the Add
Field section. A new field with the sources dataType will be created.

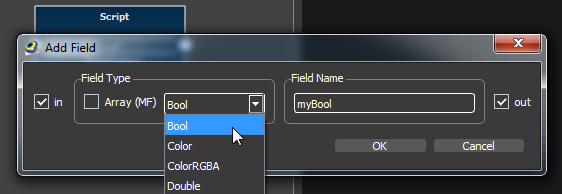
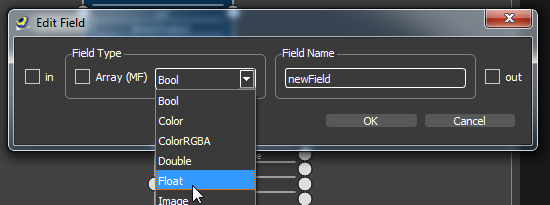
A other way to create a new field is to click the Add
Field Button. In the appearing
Dialog you can set the field type, the field name and the IN- and OUTAnchorPoints. If you want to create an Array check the Array checkbox.
Note: Image, Matrix and Path nodes are not available as array.
To add a referenced node item as an field to a Node Item drag and drop a Node Item from the Scene Hierarchy View to the Node Item.
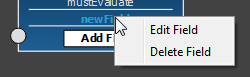
To edit a field right click the custom field and select Edit
Field in the appearing context menu.
You can adjust your field settings in the following dialog.
To delete a field right click the custom field and select Delete
Field in the appearing context menu.
You can remove nodes without routes from the Route Graph by right click the background of the Route Graph. Select Cleanup in the appearing context menu.
The Proto Interface is a static non removable item. In the first line you have the information that the item is the Proto Interface. In the second line is the name of the Proto. The orange squares one the right side are the anchor points to connect the interface with the internal fields from the proto scene. The nodes from the proto scene have the orange squares on the left side. Connections lines between Proto Interface and internal scene are in orange colour. The smaller grey anchor points indicating the connection type of the field.
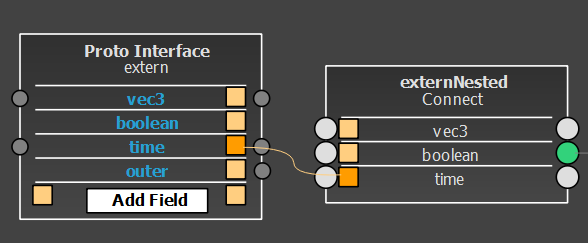
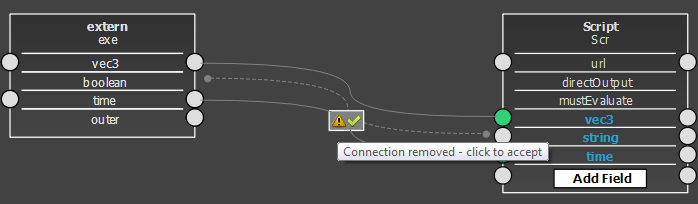
When you edit Proto Interfaces in can happen that existing connections from the related proto instance are invalid. This is notified by an not connected dotted connection line with a button to confirm the removal.
This helps you to identify changes and modify your scene.