Main menu
You are here
Animation
This section shows you how to animate in BS Content Studio.
To create a new animation for a 3D object select the 3D object and click on New Property in the Property View and select Animation in the appearing dialog.

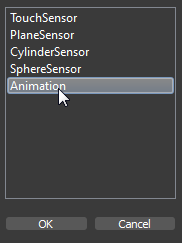
After adding a new animation property to your 3D object a new TimeSensor is
created. In the first line your can define a name for the TimeSensor.
In
the field Duration you can set the duration of your animation in milliseconds. The existing keys will be rescaled.
With Expand/Shrink Timeline you can set the duration of your animation without rescaling the existing keys.
With Extended Animation you can create predefined animation.
If Loop is set the animation will automatically restart if the animations end is reached.
Otherwise the animation will stop when the end is reached.
With the field Enabled you can enable or disable the animation.
With the buttons C and P you can copy and paste a objectstate (position, rotation and scale) from one animation to another animation.
With the Combobox you can animate your object in existing
animations.
The Animate button will set BS Content Studio into animation mode.
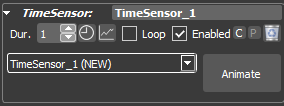
You can select an existing TimeSensor by selecting one from the combo box. This is needed if you want to animate several 3D objects at the same time.

By clicking the Animate button BS Content Studio is set in animation mode. The background color of the Animate button will change to red. The timeline will also change its background color to red.
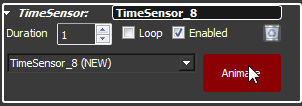
If BS Content Studio is in animation mode you can set keys by changing the values of the 3D object.
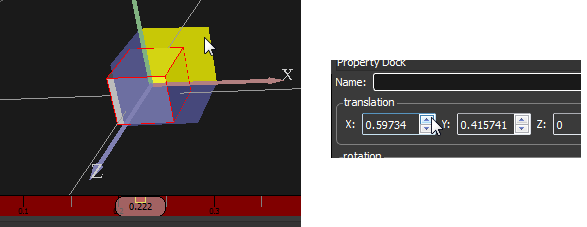
To delete the animation click the delete button.
See also: Animation Tutorial, Timeline
To append time to the timeline or cut time from the timeline click the Expand/Shrink Timeline Button in the Timesensor Rollout.
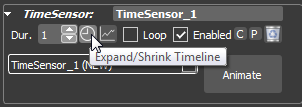
In the appearing dialog you can set the new duration you need for your animation.
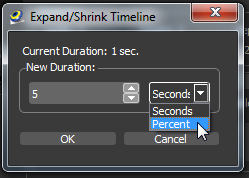
By clicking on the Extended Animation button the Extended Animation Dialog will appear.
With Rotation Cycles you can create rotation animations.
Ping Pong will append reverse
keys to an animation.
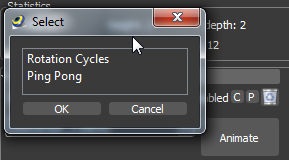
With Rotation Cycles you can create predefinded rotation animations.
Under the section Timing you can define the starttime and endtime in seconds.
Under the section Local Axis you can define the rotation axis for the object.
Under Turns you define the number of turns either in cycles or in degrees.
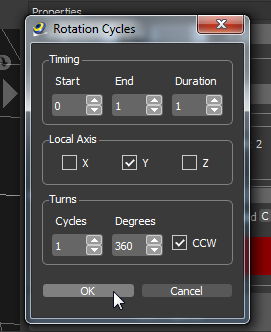
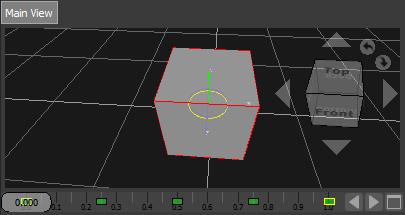
Clicking on the OK button will append the new keys to the timeline defining your rotation animation.
You can also create a Rotation Cycles Animation in the region of an existing animation. In this case a dialog will apear that asks you how to process.
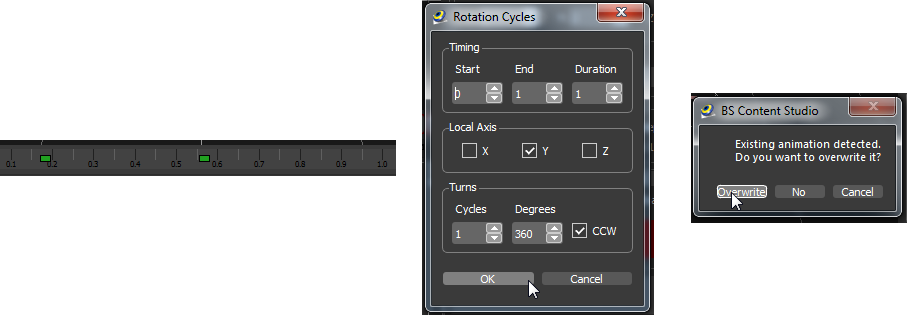
Overwrite will remove the existing keys and add the keys of the Rotation Cycles Animation.

No will hold the existing animation and add the keys of the Rotation Cycles Animation.

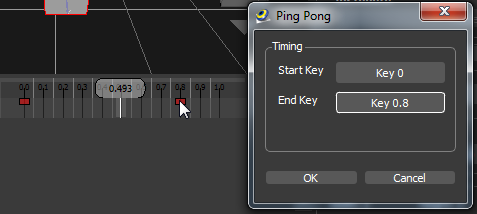
With Ping Pong you can create predefined animations where the end key value has the same value as the start key.
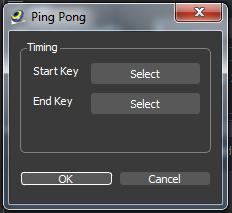
You have to select a start key and an end key.


After clicking the OK button all keys between the start key and end key are copied and moved in reverse order to the end of the animation.

You can also create Ping Pong Animations if the duration of the Timeline is to short.
In this case the following dialog will appear.

The Expand button will expand the time to the required duration.

The No button creates a key in the right offspace of the timeline. In this case you have to expand the timeline by yourself.
See also Expand Timeline

